

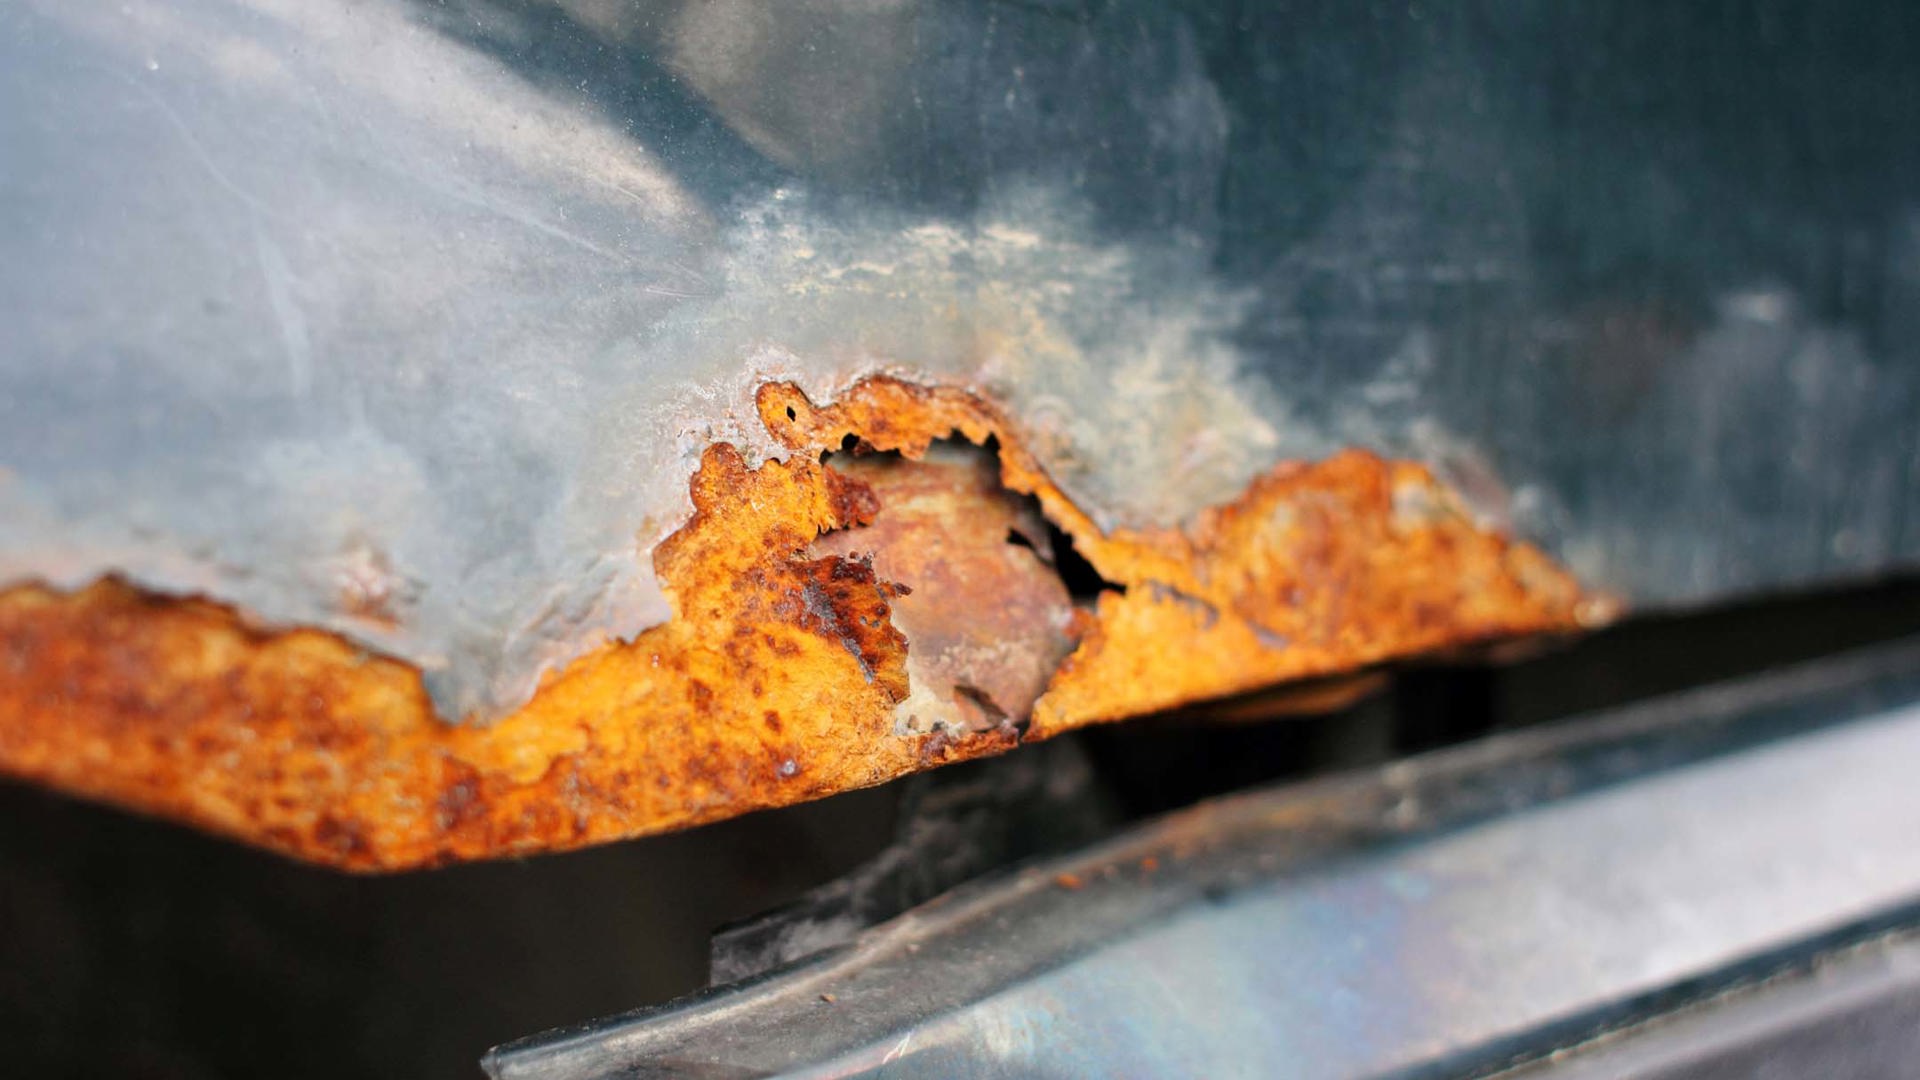


When you think of stuff that slowly kills your ride over time, rust is the most likely thing that comes to mind. It forms slowly, quietly, and often, discreetly. It’s accelerated by salt, moisture and temperature fluctuations, and eventually spreads, like sheet-metal cancer, leaving your ride’s body looking like bloody Swiss cheese.
Of course, rust is far from the only thing that eats away at your ride on the sly – and being in the know about other things that stealthily ruin your vehicle can help save you money, headaches and heartbreak.
Read on for a look at some silent automotive killers, and what you can do about them.
Rubber Degradation

Rubber is all over your ride – in parts like weather seals, tires, hoses, belts, spark-plug wires, and more. Rubber is a magical substance that insulates electricity, keeps water and fluids out of places they don’t belong, and lets your car stick to the road – that is, until, it starts to dry out, flake, crack, crumble, and rot.
If your ride is more than about 10, there’s a real chance that its rubber components are starting to degrade. Left unattended, weather seals will start to split and crumble, making water leaks more likely through your doors, trunk, or convertible roof. Under the hood, anything made of rubber could begin to cause problems – from split spark-plug wires and tubes that cause shorts, to to belts that fray and crack, to fluid or vacuum hoses that split and leak and leave your ride with more problems than a math textbook.
Or, say it with me: “Pistons, you may kiss the valves!” That’s what happens if your rubber timing belt fails.
And, though tires don’t typically stick around for 10 years, they take a lot of abuse and are always exposed to the elements – so they come with their own unique problems.
Thankfully, problems caused by aging rubber are fairly easy to address.
Under the hood of your trusty old ride, inspect and replace any rubber components regularly as your vehicle ages. Many vehicle owners even pre-emptively replace belts and hoses once they hit about 10 years old, to prevent potential issues. This isn’t a tremendously expensive endeavor, and can make a great weekend project. Not the wrenchy sort? Your mechanic can help.
Rubber seals are easy to care for – just inspect them regularly, and see your owner’s manual for maintenance instructions, which probably call for a little rubber seal lube to be applied on a somewhat-regular basis. Regular use of the proper lubrication for the seals in your ride conditions the rubber, and prevents damaging friction and wear which speeds up their demise.
When it comes to tires, be sure to frequently inspect and adjust tire pressures, and to store tires properly when they’re not on your ride. Best practice for the off-season? Stick your tires (and wheels) into a sealed garbage bag and store them indoors – since sunlight, temperature extremes, and even air, all wear away at tires over time.
When your tires are on your ride, keeping them clean and protected can make a world of difference, too.
Chris Minor is a professional detailer, and owner of Refined Shine Auto Detailing in Lively, Ontario. On tires, he comments “clean your rubber routinely and follow up with a quality rubber protectant to keep them from cracking and wearing prematurely. Use a water-based tire dressing, apply in thin coats, and wipe up any excess coating”.
Some folks won’t open their owner’s manual for all the tea in China, but if you do, you’ll find several useful tidbits of information on rubber care, which basically makes you a genius.
Leather Disintegration

Once lustrous, pillowy and oh-so-buttery soft, your ride’s leather seats can begin to show signs of wear and age before very long at all – especially if you don’t care for them properly.
Minor comments “keep your leather looking clean and new with regular maintenance. Clean using a mild, heavily-diluted cleaner, or a dedicated leather cleaner, followed by a quality leather protectant. This will keep your leather looking clean, and protect from UV damage”.
Just remember: if your seats are leather, use a leather protectant – not a general protectant, like, say, Armor All, which can actually cause damage. Just because its slippery and glossy doesn’t mean it belongs on your leather seats.
Further, leather should be vacuumed regularly to remove abrasive contaminants like sand and french-fry salt from the seams and folds.
Fun Fact: if your leather seats look glossier than they once did, it probably means they need to be cleaned professionally with steam – as they’re likely saturated with dried grease, dirt, conditioners and disgusting back sweat.
Remember that excessive exposure to sunlight and its damaging UV rays can quickly leave your leather dried up and crispy like a strip of delicious bacon, so consider a car cover, or parking in the shade, when possible. Also, remember that leather seats don’t like to get wet, so if you’ve got a soggy passenger, make them sit on a towel, and let the seat air dry, afterwards.
Plastic Destruction
#DIV/0!
Modern cars are, by and large, built with more durable materials than ever – though over time, the plastics that line much of the vehicle’s cabin can degrade with exposure to sunlight, contaminants, and extremes of temperature. Keeping your ride’s plastic in tip-top shape is simple. First, keep it clean – an occasional wipe-down with a rag and mild cleaner will suffice. Just a few drops of dish-soap in a pail of water is usually sufficient. Next, consider applying a plastic / dash protectant that includes a UV inhibitor, which acts like sunscreen and helps keep damaging rays from discoloring or cracking your dash.
Paint Wear

Worn out or badly-aged paint is unsightly, obvious, and easy to prevent – making it a wonder why so many owners struggle to keep their ride’s finish in top-notch condition. If you’d rather look at macaroons on Pinterest than maintain your ride’s paint, you’ll suffer from a crappy-looking ride, reduced resale value, and an increased likelihood of surface rust.
A few simple tips can help. First, use the right products: a mild car-wash soap, or an advanced wash solution like your writer’s personal favorite, Optimum No Rinse (ONR), should always be used. Never wash your vehicle’s paint with dish soap, unless you happen to be driving something made by Pyrex or Tupperware, which is unlikely.
When washing, use a pail with a grit-guard in the bottom, which allows dust, dirt and other scratchy-scratch particles to collect in the bottom of the pail, but keeps your sponge or wash-mitt from touching them. A grit guard costs about 3 bucks at Princess Auto.
Never use the same sponge or wash-mitt on your paint that you use on your wheels, since they’re covered in extra-abrasive bits of iron and brake pad material, which will leave your clearcoat looking like it’s just had a visit from Freddy Kreuger.
A good coat of wax at least once a year is a great idea, and a professionally-applied protective paint coating, where budgets allow, is an even better one. A knowledgeable detailer can work magic to bring an old, swirled or faded paint-job back to life, or to add a protective shield to a new-car paint job.
Avoid parking under trees, since sap and leaves can accelerate paint damage.
Trees also contain birds, which contain poop. If any lands on your ride, clean it off quickly, and properly. NEVER SCRUB AGGRESSIVELY AT DRIED-ON BIRD POOP, since bird poop often contains sand, gravel and seed shells, which will scour your paint mercilessly if you scrub. Apply an appropriate cleaner, wait, and try to wipe the poop off gently. If it doesn’t’ come off, apply more cleaner and wait longer. READ THIS THRICE: DO NOT SCRUB BIRD POOP.
Finally, park inside where possible, and if not, use a proper car cover to fend off damage from leaves, sap, sun and scratchy poop. Don’t cover your ride in a tarp, because a tarp flapping in the wind is abrasive, and will ruin your paint job.
Wheels

Aluminum doesn’t rust. Just kidding: yes it does – just more slowly and gently than steel. If your ride has aluminum wheels that are getting old, you’ll likely notice little pits in their finish, which is aluminum corrosion. Thankfully, this is easy to slow or even prevent: just clean your aluminum wheels regularly with a proper cleaner, consider a regular treatment of a wheel polish or protectant, and don’t let brake dust or other contaminants build up on your wheels to the point that they’re becoming discolored, or that the staining is hard to remove. Regular rinsing and washing of aluminum rims goes a long way to keeping them in top shape. Special aluminum polish? Even moreso.
Pro Tips

Spray a little WD40 onto a rag, and wipe it over your clean and dry aluminum wheels, for a layer of polish and protection on the cheap.
Also, clean your wheels separately of your ride’s paint, and more often, to prevent buildup of contaminants.
Fluids

Over time, the engine oil, coolant, and other fluids that act as the life-blood of your ride can degrade, become corrosive or toxic, and betray the very components they were intended to protect. Engine oil, gasoline and brake fluid can absorb water over time, reducing the effectiveness of each fluid, contributing to problematic corrosion, and accelerating component wear. In some applications, old engine coolant can become corrosive, and eat away at your aluminum block, cylinder heads, and the gaskets within, from the inside out.
Scared? You should be. So remember this, and remember it well: fluid change intervals are usually specified at a given mileage, or a given length of time, whichever comes first. Even if your ride has been parked for a year with no miles driven, some of the fluids may need to be changed. Don’t take this lightly. The details are in your owner’s manual.
Battery Power Loss

Numerous things inevitably wear away at the ability of your vehicle’s battery to store power. These include age, temperature fluctuations, long periods of non-driving which wear away at battery capacity, and the small, constant draw of vehicle systems that are active, even while your ride sits in the Park-N-Fly for 2 weeks while you’re in Cancun. Then, one day, when you promise the kids a trip for Pizza, it happens: your ride won’t start, since your battery is more barren Whoville on Christmas morning.
Solution? A trickle charger. Why does nobody use these!? They’re like, forty bucks at Canadian Tire, and hook up to your ride’s battery in about 7 seconds. When you won’t be driving for a while, plug the trickle charger in to keep your battery topped up and conditioned while you’re away. Not only will you return to a ride that still starts when you turn the key, but your battery will probably last longer if you use it regularly, too.
Pro Tip
If your battery terminals are coated in a disgusting salty crust, they need to be cleaned. This buildup of contaminants can cause unwanted battery discharge that can empty your battery in quick order.
