


It’s easy to overlook pavement markings; they’re part of our driving ritual, guiding us through the road network like 2D rails. Ignore them as we may, this simple test shows their importance: how do you feel when driving on a fresh black coat of unmarked pavement? A bit unsure of where to point your wheels, perhaps? Imagine then hitting a fresh road at night, vacated by the working crew, with no markings or temporary tabs, in an unlit rural setting… Quite unnerving.
It’s like going across a bridge that’s missing its guardrails – the deck is the same, but boy does it feel like flying without a parachute.
Technically, road markings are a Traffic Control Device (TCD). As such, they are regulated to the bone by various levels of road authorities and are subject to enforcement according to your jurisdiction’s rules of the road. Most are there for a reason, some are added as reinforcement to signs or signals and others are just annoying (like those big painted letters spelling “SLOW”). Let’s crack open a can of paint and look at what turns liquid chemicals into a TCD.
Colour
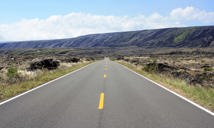
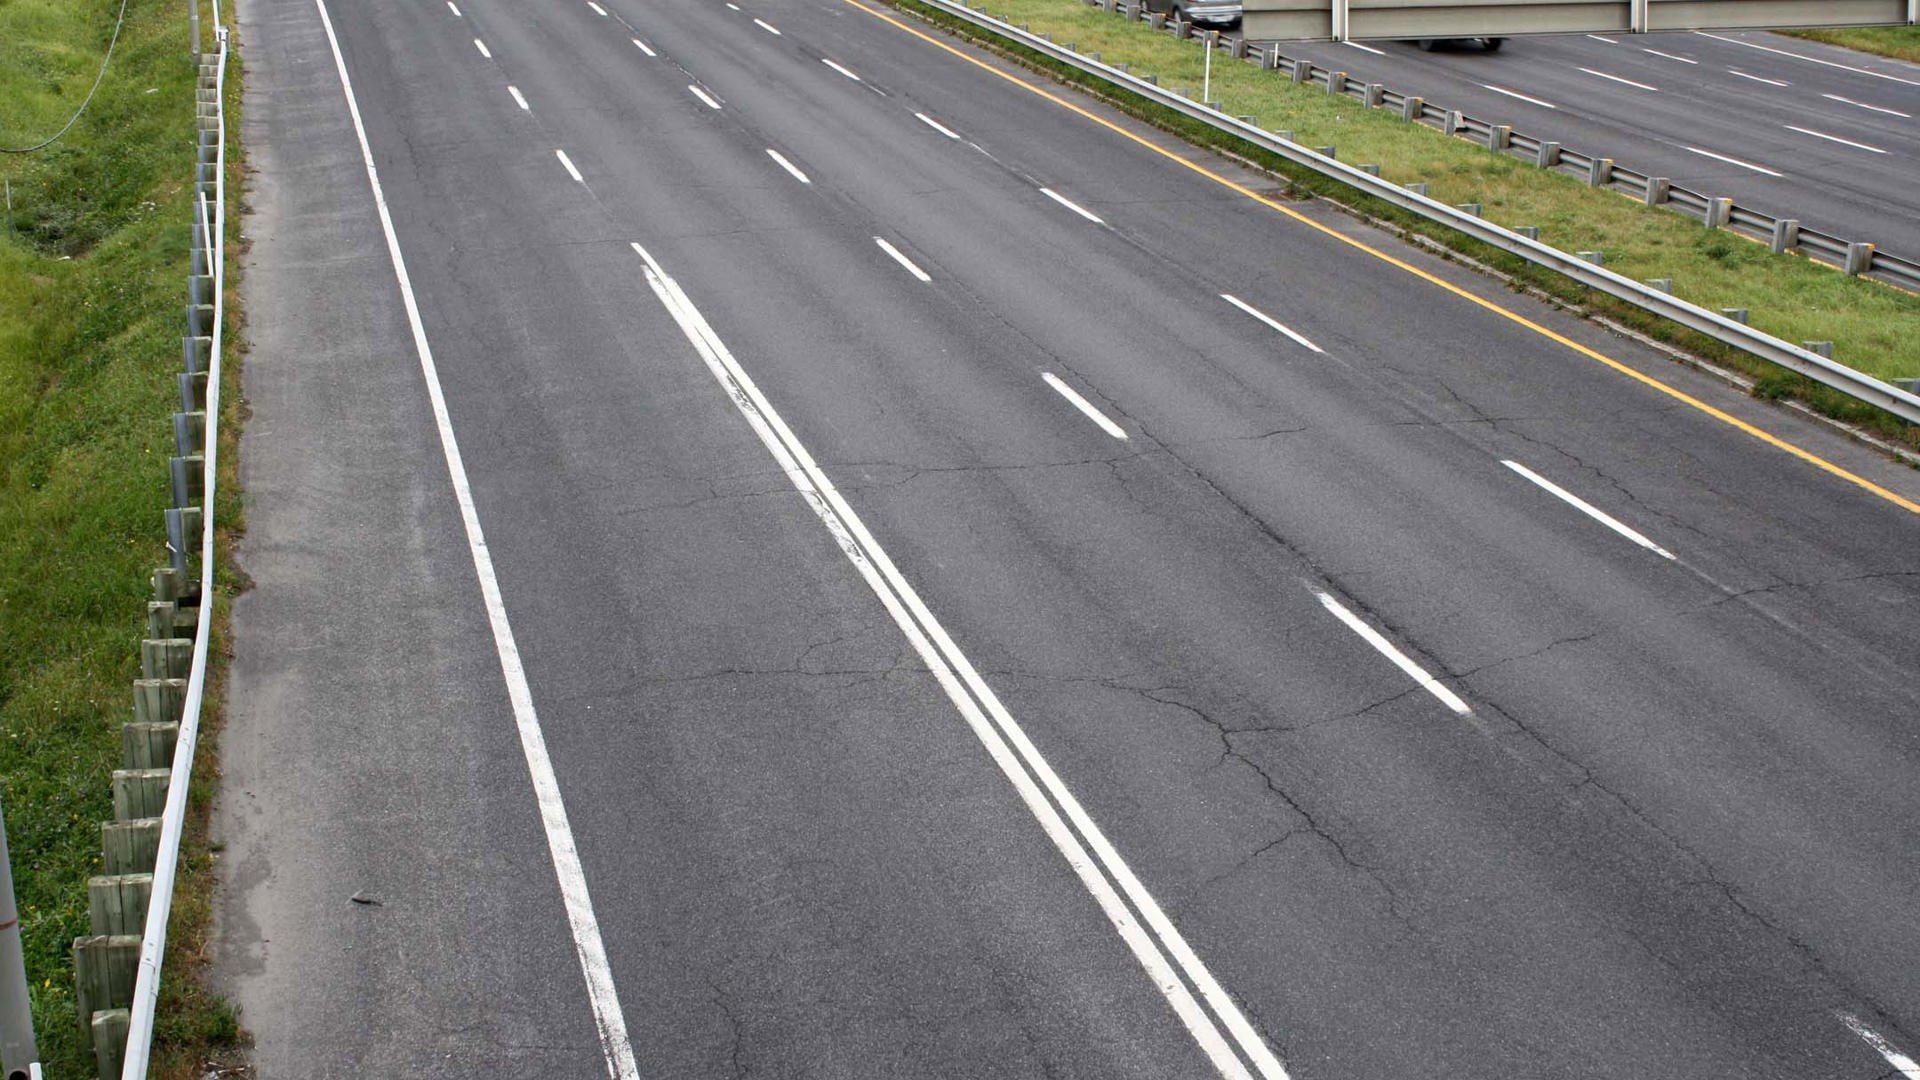
The colour palette of road markings is so limited that it would please Canada’s Queen of Decor, Sarah Richardson. Like Sarah’s designs, our markings are mostly white. And there’s reason for that. You can drive on either side of a white marking – a white stripe separating two lanes of traffic is a big clue that you’re on a one-way stretch of road, separated or otherwise. A right-channel island’s markings should be white – as all travel lanes go in the same direction. A white edge line also marks the right edge of the rightmost travel lane.
Of course, our roads need accent colours – white can’t do all jobs.
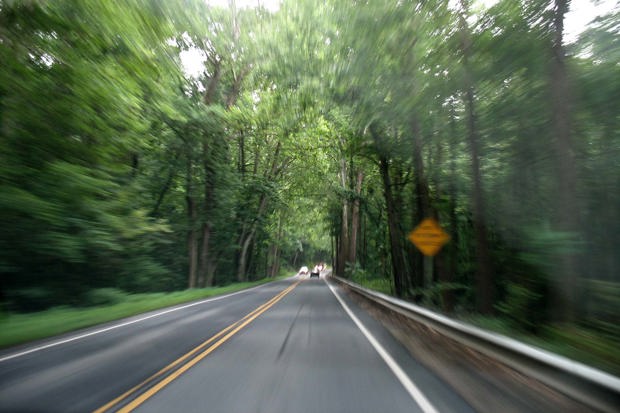
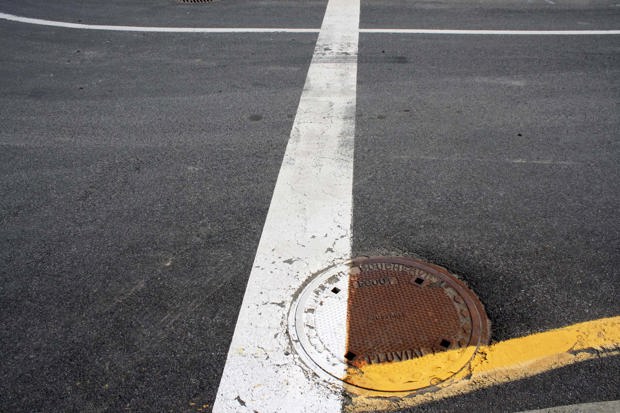
Yellow to your left signifies that traffic beyond that line moves in the opposite direction, or marks the left edge of the leftmost travel lane on a separated roadway. Think solid lines in the middle of a rural two-way road. Markings on either side of a central road divider or obstacle will be painted yellow, as traffic must drive to its right.
How can you tell when a shopping center’s parking lot has been properly designed by a transportation engineer? Look for spaces with white sides (because you can park on either side of them) and yellow dividers at the ends of each row (because you’re not supposed to drive over them).
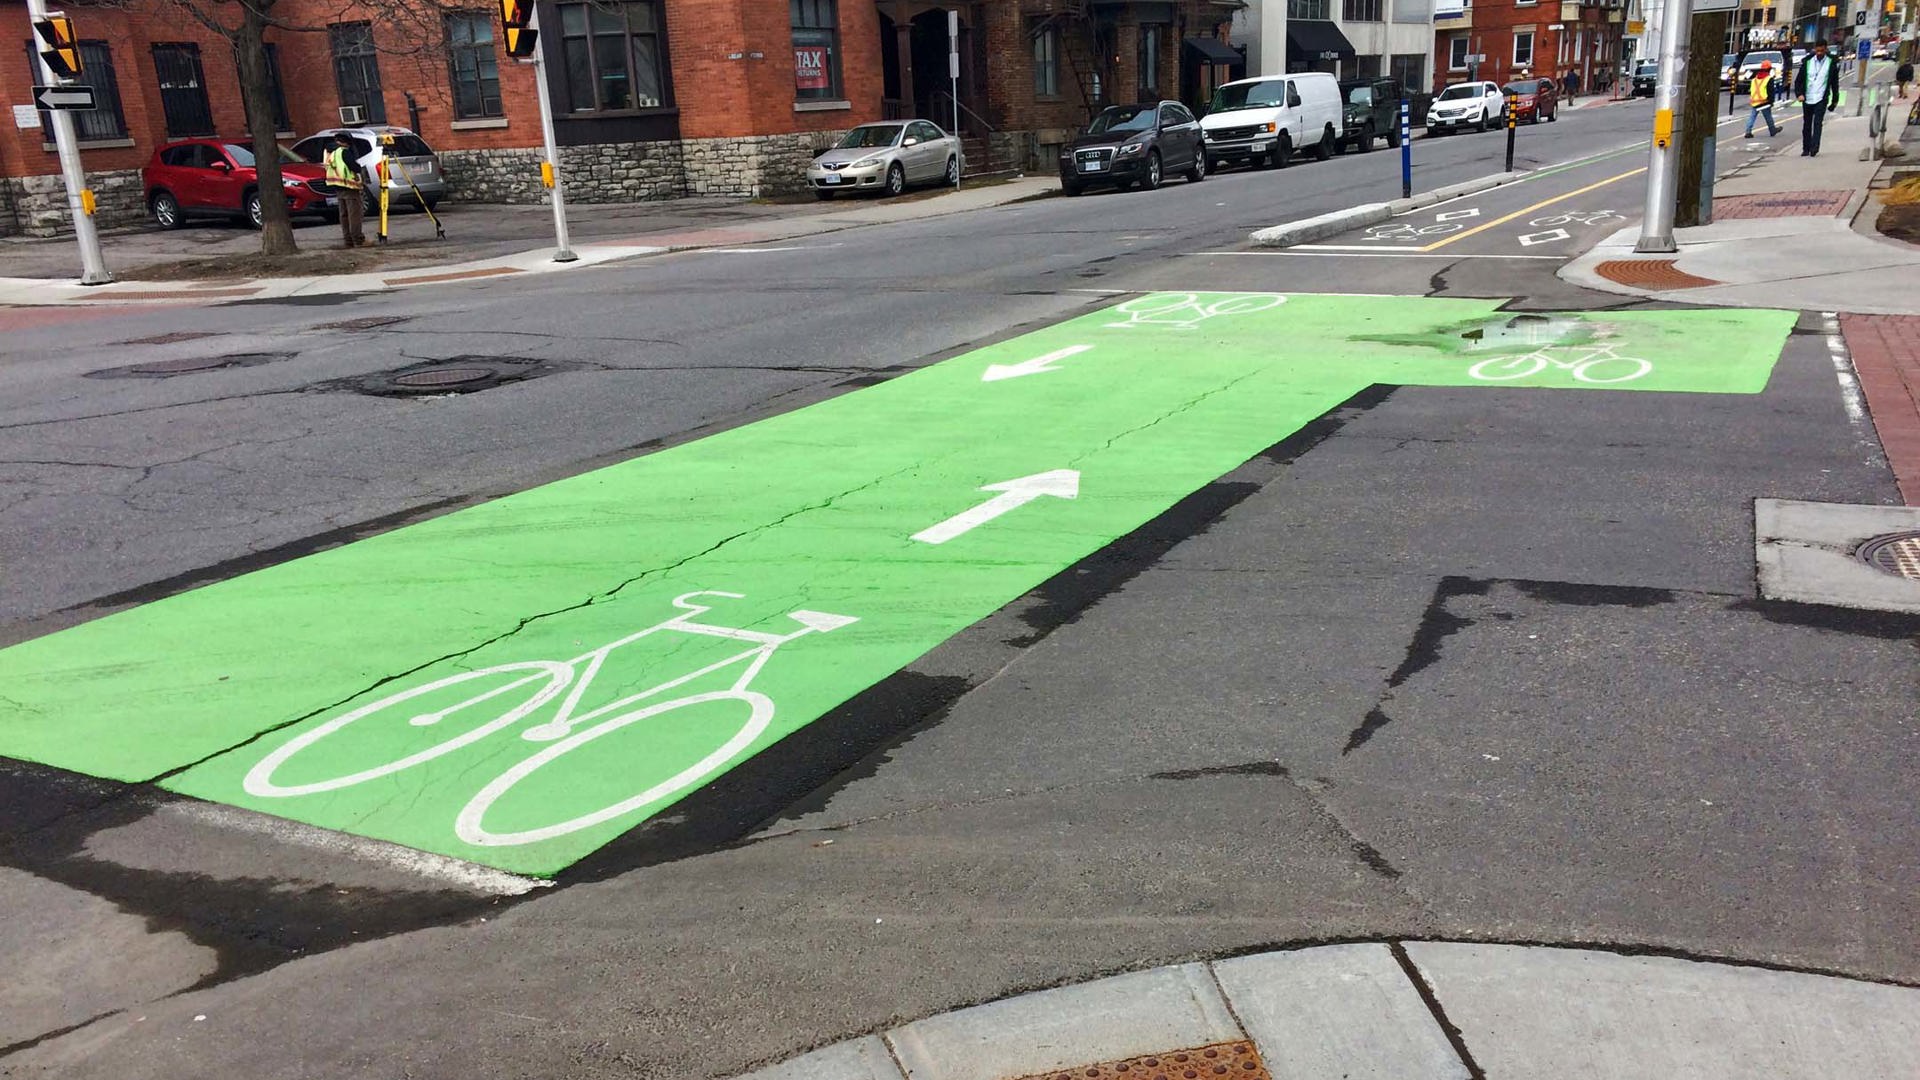
Ever see green-painted parking stalls reserved for electric cars? Well, move over, Musk: green is a reserved colour for bicycle facilities, such as bike lanes or bike boxes at intersections. Red is reserved for transit lanes or facilities, and blue for handicapped parking spaces.
Lately, provinces such as Ontario and Quebec have played with orange for temporary markings in constructions zones – easy to see and understand, where before contractors painted and erased virtual hamster mazes for drivers in never-quite-erased yellow or white stripes.
You’re going to need another finger to complete counting the palette, as we’re adding a touch of black. The classic non-colour needs to be laid down before the stripes on some concrete surfaces, as white over light grey is much better in your den than on the road – there’s just not enough contrast there.
Conspicuity

Traffic professionals love this word. A TCD has to stand out. White and yellow stand out the best against pavement in various weather conditions. Ever notice how new road stripes really shine under your headlights? Well, there’s a reason for that – there’s more than chemicals involved in a can of road paint. To ensure retro-reflectivity, road paint is embedded with minuscule glass beads that act as light reflectors. Of course, don’t look for that shine in residential neighbourhoods. These micro-mirrors don’t come cheap and are usually reserved for high-speed roadways. The beads wear off over time, so maintenance is the key to keeping those stripes glowing in the night.
Different stripes
The colours may be limited, but road stripes come in many shapes and sizes. Ditto for regulations – from the Transportation Association of Canada, whose standards are pretty much representative of most Canadian jurisdictions.
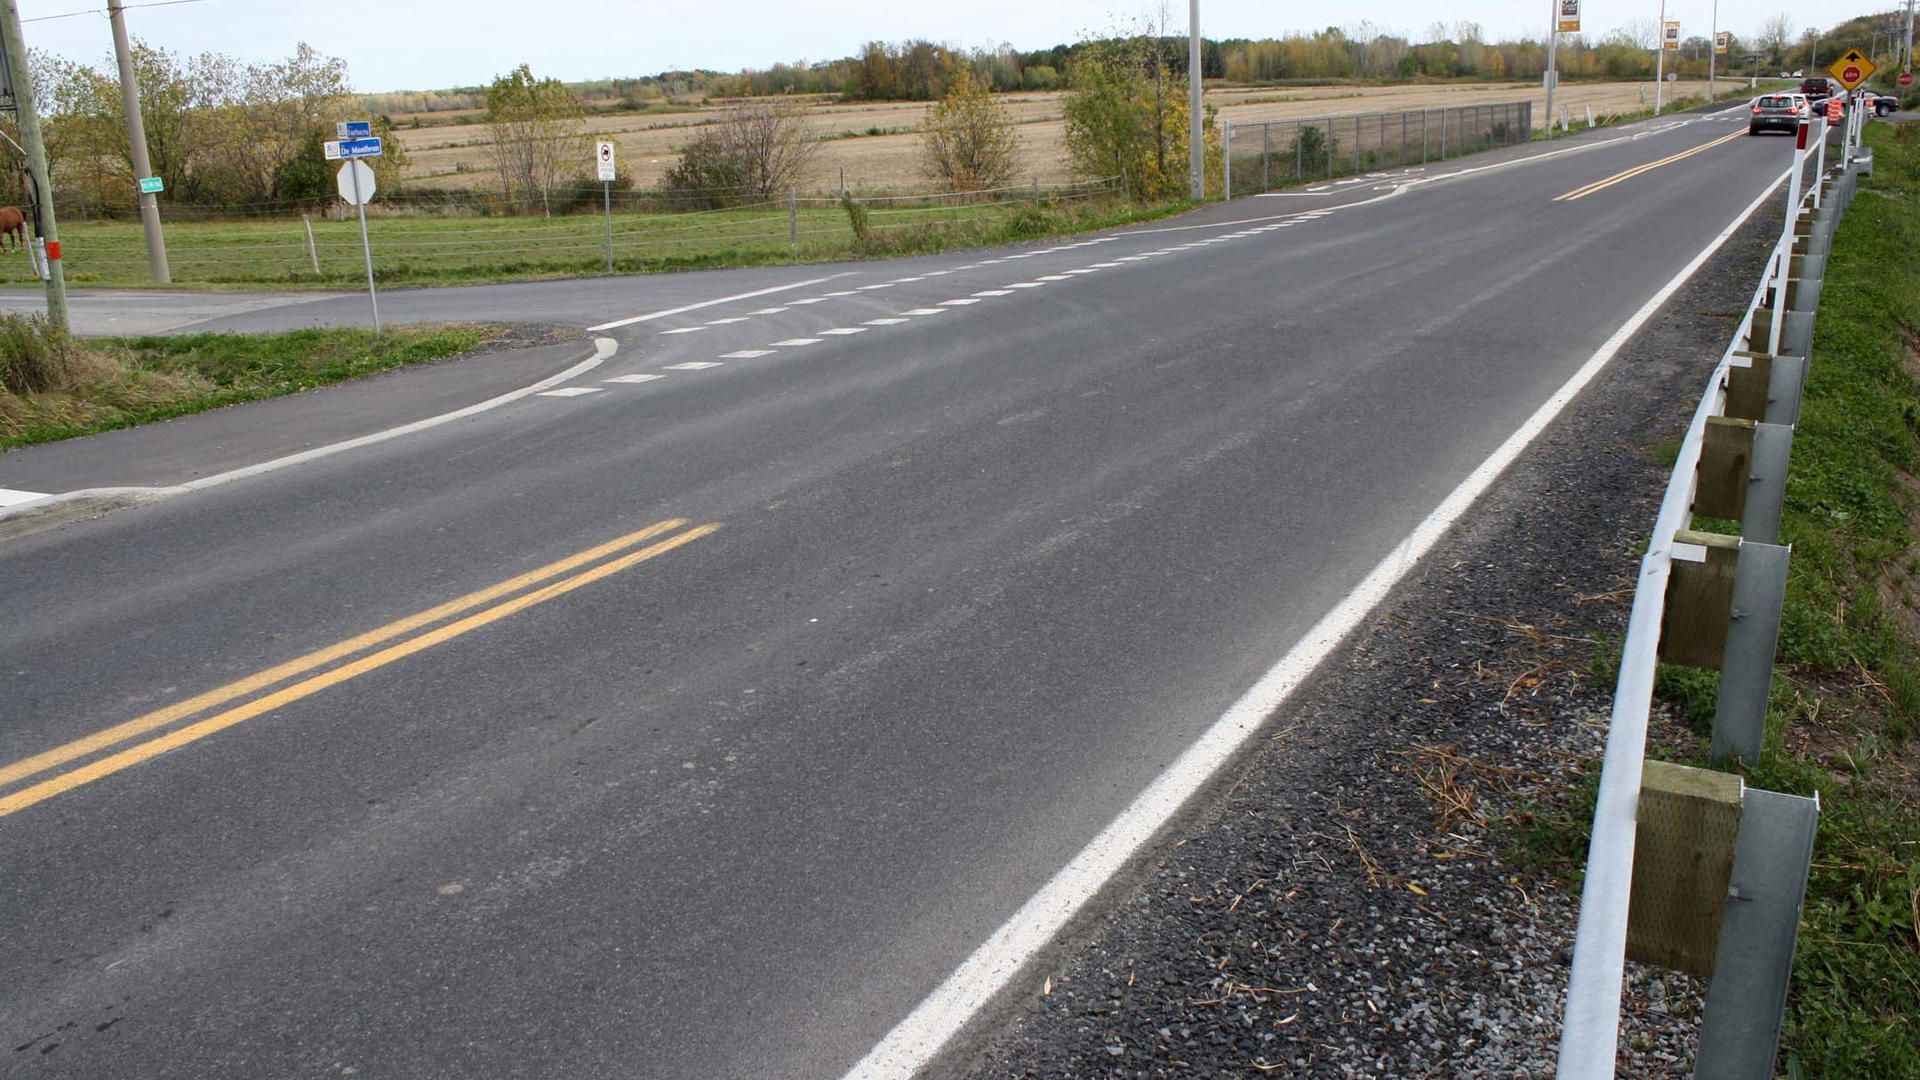
Solid lines indicate restrictive traffic regulations, such as a no-passing zone (in yellow) or an unsafe lane change (in white). Broken single lines signify that passing or lane changing is permitted. Broken next to solid, therefore, restricts lane change or passing to vehicles on the “broken” side of the stripes.
Between travel lanes, broken stripes will typically be three metres long with either a six- or nine-metre spacing, depending on the design speed of the roadway. In roundabouts, the stripes are only 1.8 m long to better match the circular geometry. A double yellow centre line allows adding passing zones in one direction of travel only, typical when curves may impair visibility differently depending on travel direction. Endless straights will often use single yellow lines, moving to broken lines when passing is allowed in both directions.
Ever felt a sense of urgency when driving through a merging lane? The broken lines are set at intervals that are the same as their stripe length, usually three metres. This creates an illusion of excess speed, and entices the driver to react promptly. You will find these at mergers, tapers, and continuity lines – the kinds that guide you through a tricky intersection.
Size matters
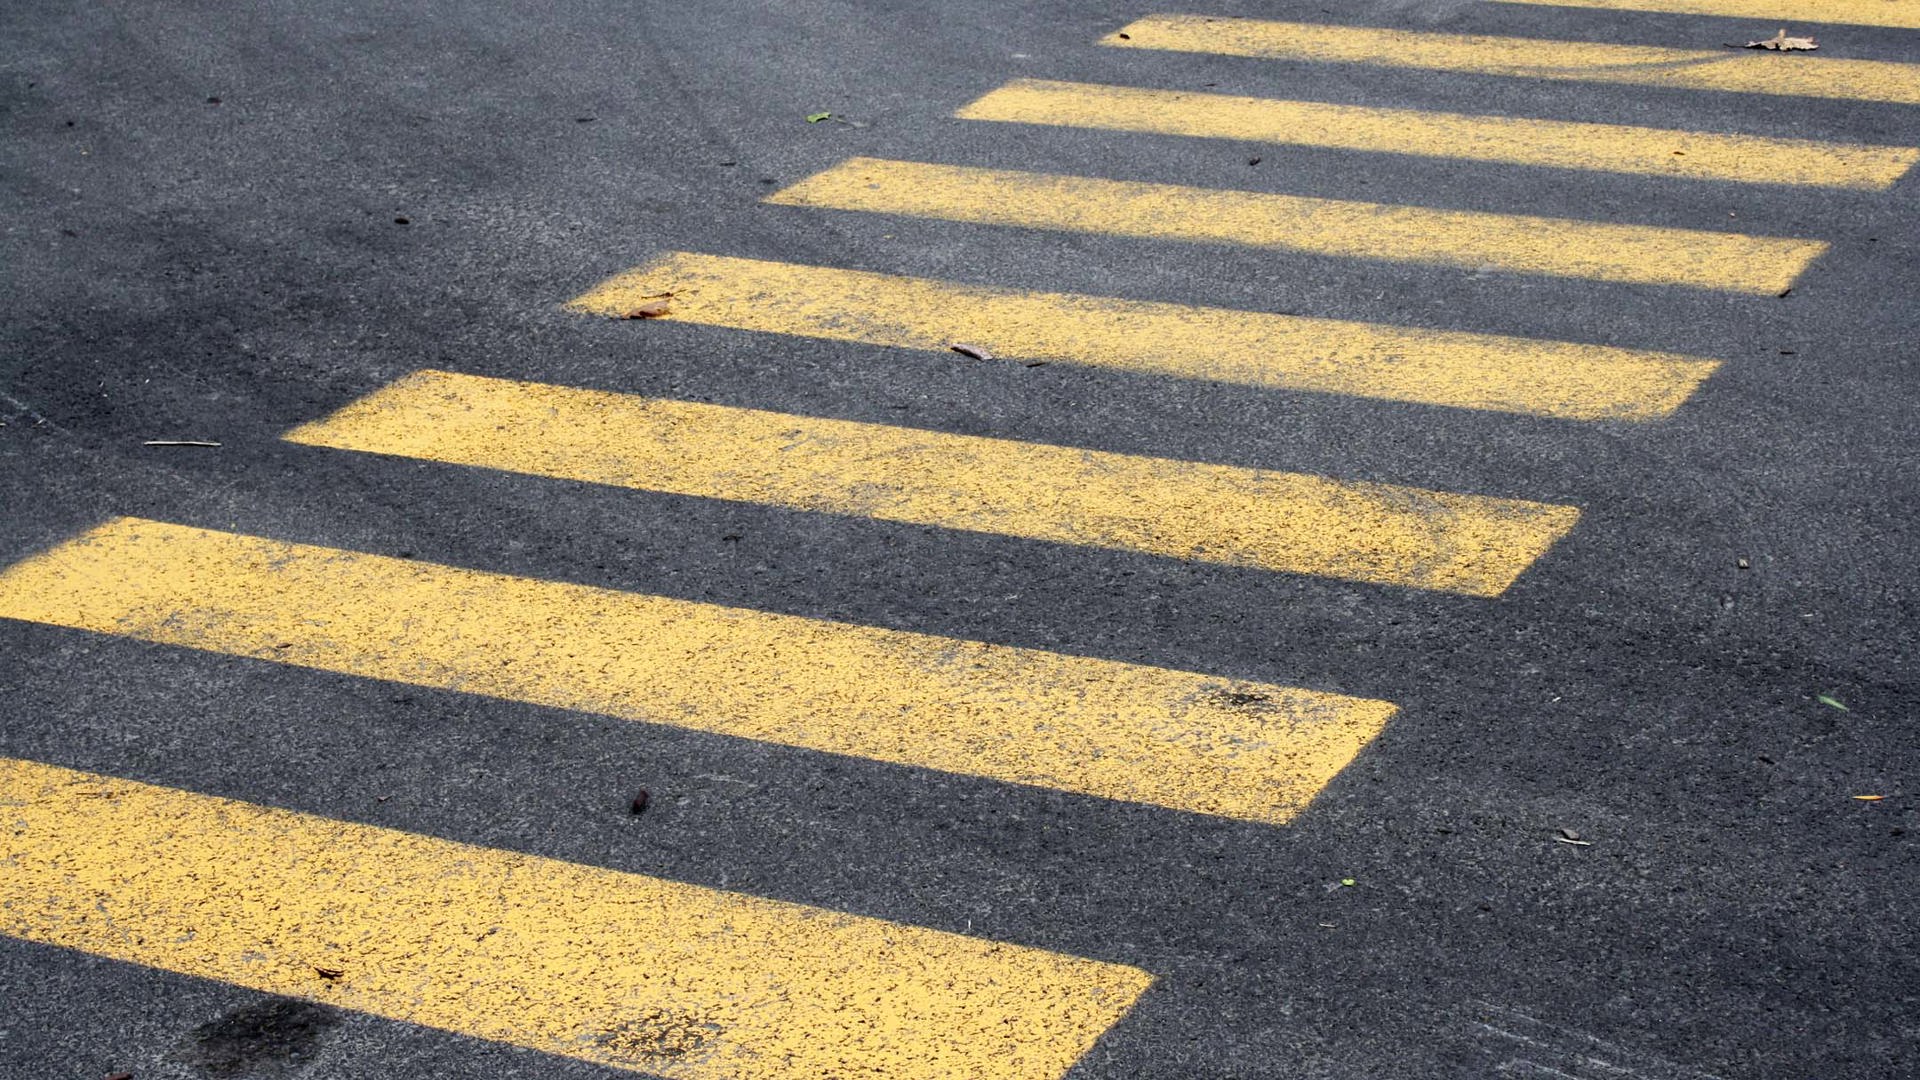
The wider the striping, the more “intense” the message they convey. Standard longitudinal striping will vary from 100 to 150 mm in width. Ever notice reserved bus lanes are separated by a virtual wall of paint? Here the stripe is 200 mm wide. Broken lines in diverging or merging areas also share that width. Stop lines are as thick as trees – 300 to 600 mm, the latter being the width of pedestrian zebra crossings.
Walk this way

Pedestrians may be at the very top of the priority list on roads, but when architects, urban planners, advocacy groups and politicos have their way with crosswalks, the results are often, ahem, “special” and won’t always pass the test of a judge. Pavers, concrete, thin-layer “prints”, logos, and rainbows – there’s a lot of creativity out there, driving traffic professionals nuts.
Legally, crosswalks must either be designed as two parallel painted white lines, separated by at least 2.5 m, or take the “zebra” shape, with big, evenly spaced 600 mm wide white rectangles that are at least 2.5 m long. Mid-block crossings must use the zebra design, usually painted in yellow. The zebra markings are more often than not applied in school corridors, but may be used when circumstances require extra visibility for the crossing.
Don’t cross the line
Rules of the road will vary per jurisdictions, but these basic principles will hold pretty much anywhere. Most people will know that you can’t cross over a solid line that’s parallel to your direction of travel. But what if it’s perpendicular?
Centre stripes are typically interrupted where a side street intersects, this is to allow movement to the left, through, or to the right across the intersection. But what if you’re exiting a private driveway and there’s a double yellow in your path? Rest assured: you’re allowed to make a left across a solid line, to access a driveway or exit from one, provided there’s no sign telling you otherwise, and that it’s safe to do so.
But there’s a catch: don’t attempt a mid-block U-turn across a centre solid stripe – that’s illegal. Even though you’ll usually feel dumb when pulling into a stranger’s driveway to get yourself un-lost, it’s the legal way to reverse direction between intersections.
